DIY T-Shirt Screen Printing in 2 Colors | How To
Want to screen print a t-shirt in one or more colors without a screen printing press or professional equipment? No problem! It took some trial and error, but here is how I printed multi-color shirts on light and dark fabrics with only a basic screen printing kit.
Materials
Screen Printing Kit: http://amzn.to/2seVQrZ
Screen Printing Kit for Opaque Fabrics: http://amzn.to/2s5k35o
Today I am experimenting with a multi-color screen print by printing my new logo on t-shirts. Some of these are currently for sale here.
To print in multiple colors you need a screen for each color so the first thing I did was burn screens for the white and red parts of my logo. About 45 seconds of noon sun works well to burn the image in the Tennessee summer, you may need to adjust that depending on your location and time of year.
Once the image is burned you have to rinse out the part of the emulsion that was masked off so the ink can pass through the screen. This is really easy by letting warm water run over it for about 2 minutes and then using a direct spray. I like to finish up by using a toothbrush to get any lingering emulsion out of the edges.
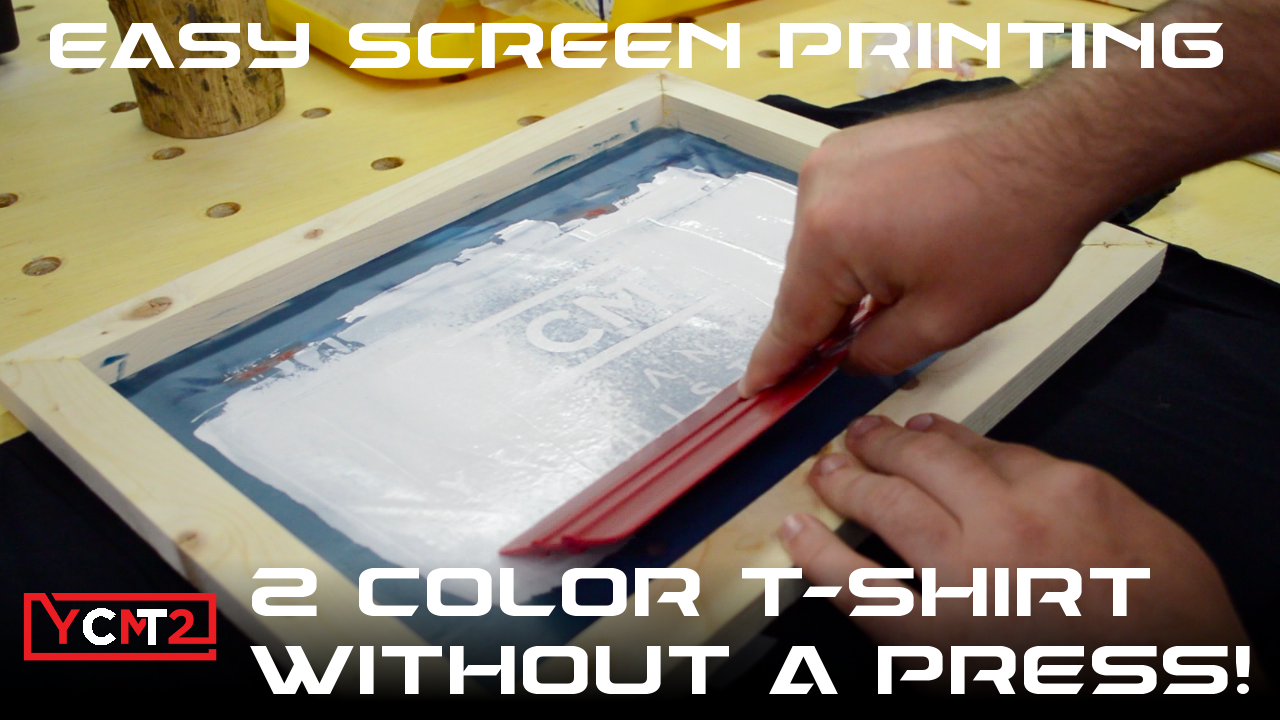
I placed a plywood cutoff inside the shirt to have a flat service to work on and prevent the ink from bleeding through to the back side. Then I applied the white ink and gave it some time to dry before doing the red ink.
On the red screen I burned two extra letters from the text to help me align the image. I don’t want any red ink to go through those, so I just put scotch tape on the back to block the ink.
It is a bit hard to tell in the video, but the red did not show up well on the dark or bright shirts. After some research I discovered that for bright inks to keep their vibrancy on dark or bright shirts you need a white ink base on the shirt first, that way the material cannot absorb the colored ink and dull it.
So I burned a new screen that had the entire logo so I could lay down a full white base. But, I didn’t get a good burn and the letter “K” was a bit off, to fix this without burning a new screen I just made a scotch tape mask.
Pro tip, do not play with your ink over your shirt or you will make a mess on your shirt. Fortunately you can erase water-based ink spills pretty easy with warm water.
After letting the white base dry for about an hour I applied the red ink, and the color looked a lot better. But, I was not able to get the screens lined up perfect. It seemed like the ink actually shrunk the shirt some while it dried.
The result was I couldn't completely cover the white base with the red ink, so there was some white edging around the red ink.
After talking to some friends and doing some research I learned that the way to handle that is to undersize the white base so it's slightly smaller than colored image to be printed over it, that way both prints do not have to align perfectly. So I used some screen filler to shrink my base layer some and tried again, success!
It didn't come out perfect with my screen filler quick fix, but I'm confident that after re-burning a new screen with a properly undersized transparency I'll be able to get good repeatable results.