Sewing Table
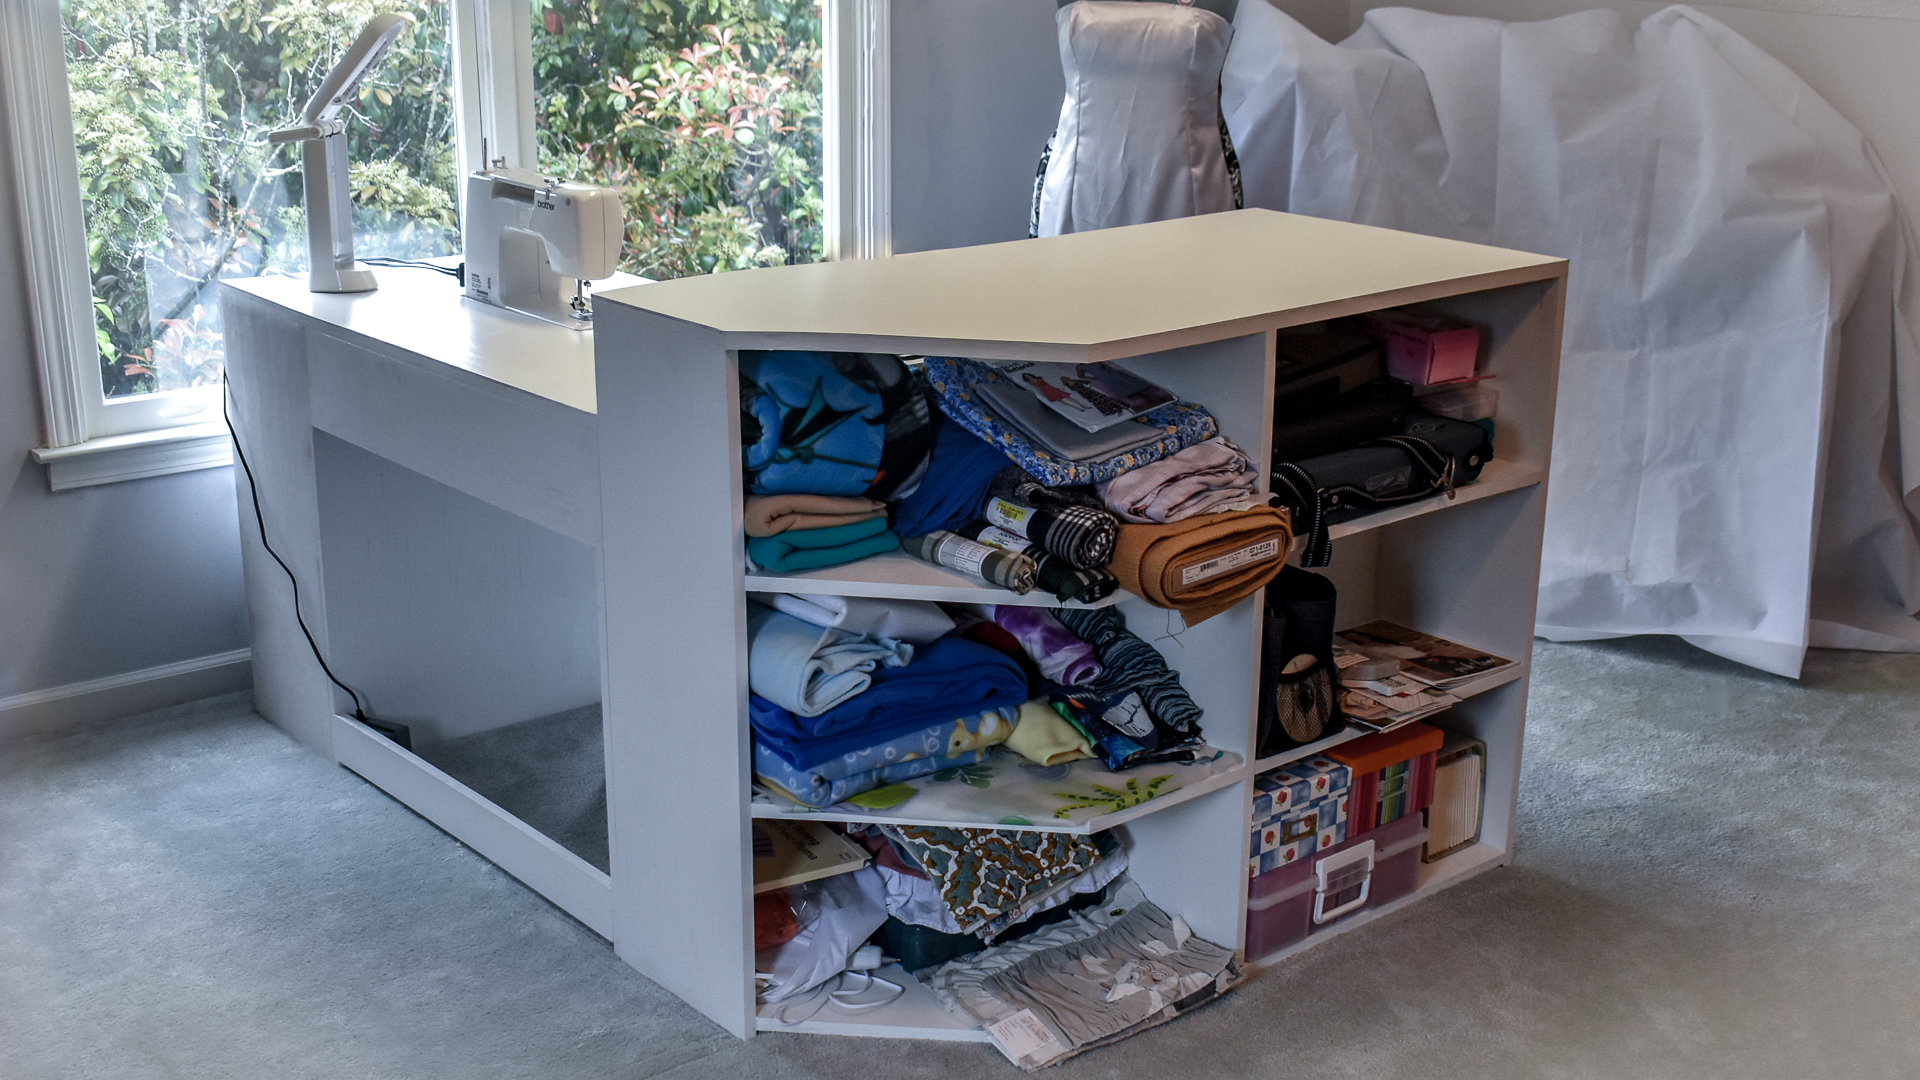
Here's how I made my wife's maker center with a sewing table and craft table. The sewing table features cubbies and a recess so the sewing machine sits flush with the top of table, and the standing height craft table has tons of storage!
This post contains affiliate links, for more information see my disclosures page.
Check out the tools I use.
Dimensions:
Both of these tables are 2' x 4'. The sewing table is 30" tall, a standard table height, it's good for working while sitting. The crafting table is 36" tall, which is countertop height, it's better for standing work.
Step 1: Gather Materials.
This project was made with 3/4" plywood, 1/8" melamine, wood glue, and pocket screws. You can find all of that at any home center. Here you'll find the tools I use.
Step 2: Prep the Materials.
I broke down all of the plywood at my table saw and then used a pocket hole jig to drill pocket holes in all the pieces.
Step 3: Assemble the craft table.
It's best to build pieces like this upside down. The pocket holes should be on the underside so they're not visible, building upside makes it easy to screw everything together and prevents you from getting in your own way as you build.I like to attach the sides to the top first, then add any internal vertical supports, followed by the shelves. If all you pieces are pre-cut, use them to space each other while you're assembly. This is demonstrated in the video.
Step 4: Assemble the sewing table.
I built this table upside as well. First I built the cubbies on one side, then added the other side, followed by the back braces. Last was building a box to mount underneath the table top to create the recess for the sewing machine.The trick to building upside down is too remember everything is also backwards! I forgot this and initially built the cubbies on the wrong side of the desk.
Step 5: Paint
We chose to go with white to keep it simple and bright. I decided to paint before laminating the top on so I wouldn't have to worry about getting paint on the top.
Step 6: Laminate the melamine to the top
I used regular wood glue to laminate the melamine to the top. The trick is plenty of clamps and/or weight to hold it down until the glue sets!I cut the melamine slightly over sized and used a flush trim bit in a router to flush it up after the glue set.
Step 7: Cut out the sewing machine recess
I marked on the top where the sewing machine box was and taped off the perimeter to minimize tear out on the melamine. I drilled some holes with a large forstner bit and then used an oscillating tool to rough off the hole. A flush trim bit in a router finished it off.
Step 8: Set up and enjoy!
Now all that's left is any touch up paint and filling up the storage with your supplies!