The 5 Tool Woodshop

This post is sponsored by The Home Depot Prospective tool review program and contains affiliate links.
Every woodworking task can be done lots of ways. Which means almost every woodworking project can be done with just a few tools. I go over the 5 power tools needed to make almost any woodworking project. I also mention a few non-woodworking tools that I use a LOT in my woodworking.
My favorite description of woodworking goes something like this..
“Woodworking is taking pieces of wood, making them smaller, then making them bigger, just to make them smaller again.. over and over.”
The 5 Power Tools:
Drill/Driver (Really two tools, but it’s the 21st century.. buy a combo kit, nobody should be driving screws with a drill anymore)
It’s coy, but actually fairly accurate. As far as the “making into smaller pieces” goes, that’s the cutting. And when we cut wood down, it’s one of two ways. On a (hopefully) straight line, or a curve.
Power Tool 1: Circular Saw

Dewalt Atomic Mini Circular Saw
When it comes to affordable power tools that cut straight lines, the circular saw is king. If tools with dozens of crazy sharp spinning teeth intimidates you, consider a mini version like the new Dewalt Atomic Circular Saw. What it lacks in size, it does not lack in power (thanks to it’s brushless motor) and it still has the capacity to buzz straight through any plywood or 2”x material in your way.
If you need super straight cuts, you can make a guide for the saw to run along. And if you don’t mind repetitive cuts and have a chisel, you can even make half laps, rabbets, and dados with a circular saw.
Power Tool 2: Jig Saw
With only a circular saw though, you’re going to be stuck if you’ve gotta cut an inside corner or a curve. That’s where a jigsaw like the Ridgid Octane Jig Saw comes in. With it’s short reciprocating blade it’s easy to cut curves, tackle inside corners, and if you drill a hole a drop the blade into, you cut “in the field” of any piece.
Of course there’s nothing stopping a jigsaw from cutting straight lines too. But due the blade’s size there isn’t much holding it true. Trying to strike a straight line with a jig saw brings to mind viral Facebook videos of field sobriety tests. It requires immense focus and yet the results are still a bit lacking.

Ridgid Octane Jigsaw
I have a bandsaw in my shop, but when the piece is too large to fit, I turn to the jigsaw. The other time my jigsaw sees the most use is breaking down rough stock. Rough material often has a lot of tension in it that can pinch circular saw blades causing dangerous kick back. That’s not as much a concern with the jigsaw’s short blade.
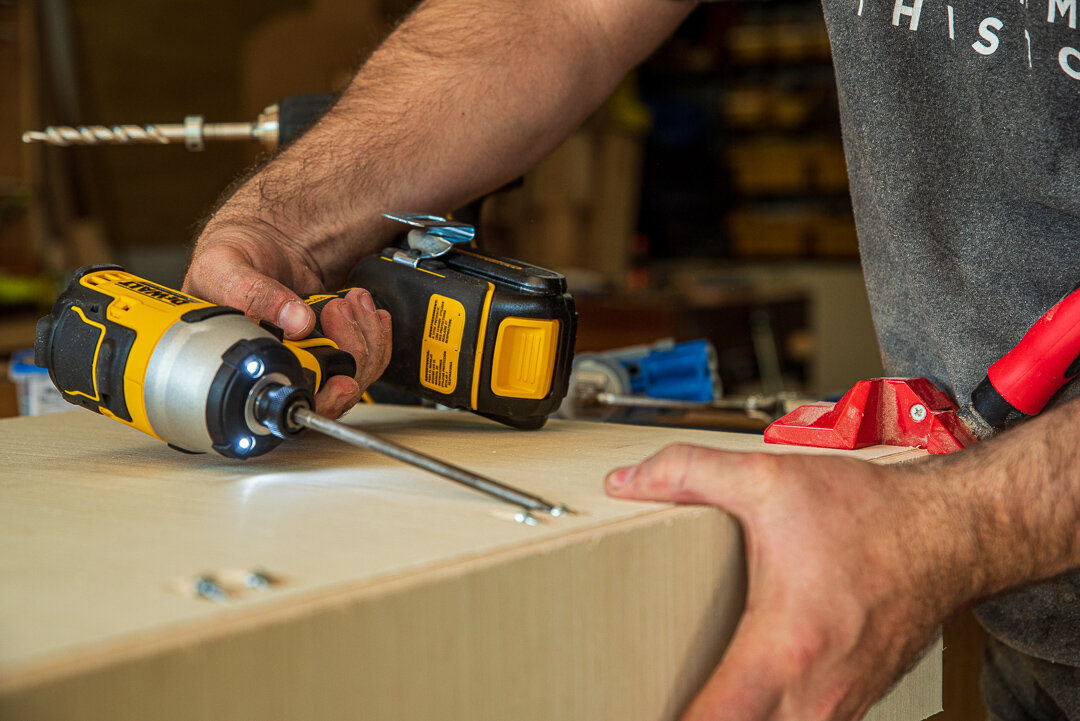
Power Tool 3: Drill/Driver Set

Dewalt Atomic Drill/Driver Set
Okay okay, I know, they’re two different tools. BUT, you can drive screws with a drill. And there are hex shank bits that fits drivers. So you only need one of them. But once you have both, you won’t go back. There’s a reason every brand sells them as combo sets and the Dewalt Atomic Compact Drill/Driver set is a solid choice with their light weight compact design and brushless motors.
Why separate tools? Well, drills excel at drilling. They’ll drive screws as well but once the screw starts encountering resistance it’s more likely the driver bit will strip the head of the screw than keep screwing it in. Impact drivers work similar to the impact wrenches you’ve heard at any tire shop. If there’s no resistance they drive freely but once torque is required the impact part kicks in and instead of a smooth rotation it starts hammering. Think turning a wrench by hand versus hitting the end of the wrench with a hammer.
Dewalt Atomic Impact Driver
That impact action helps drive screws through stubborn situations. But, is less than desirable when drilling holes. So even though some drill bits will go in an impact driver, it’s best to keep them in the drill.
The other benefit of having both is just speed. It’s also best to drill pilot holes before installing fasteners. With a bit in the drill and a driver bit in a driver, it’s quick and easy to drill and drive as needed without switching bits. Not that switching bits is that slow, it’s more the finding your bits when they roll away every time you set them down that becomes time consuming.
Power Tool 4: Router
It’s possible to build tons of projects without a router. But if you want to be able to build almost anything with just 5 tools, it’s the router that changes the game. How, why?
Ridgid Octane Router with a round over bit
Besides making edge treatments like round overs, chamfers, and ogees a lot faster and more consistent, it opens a new world of joinery. With a router and some shop made jigs you can start cutting mortises, rabbets, dados, splines, dovetails, box joints, and edge jointing.
For all those things, I prefer a trim router like the Ridgid Octane Router. It’s no secret full size routers intimidate me, but maybe that’s just because I have small hands. Trim routers just feel a lot more controllable, and when I’m confident the tool isn’t going to get away from me, I’m more confident using it. Not to mention they still have enough power to do all the things I normally do with a router.
The only exception to that is flattening material. You can flatten anything with a router and a flattening jig, which opens up the realm of using rough material. But that’s a job for a full size router.
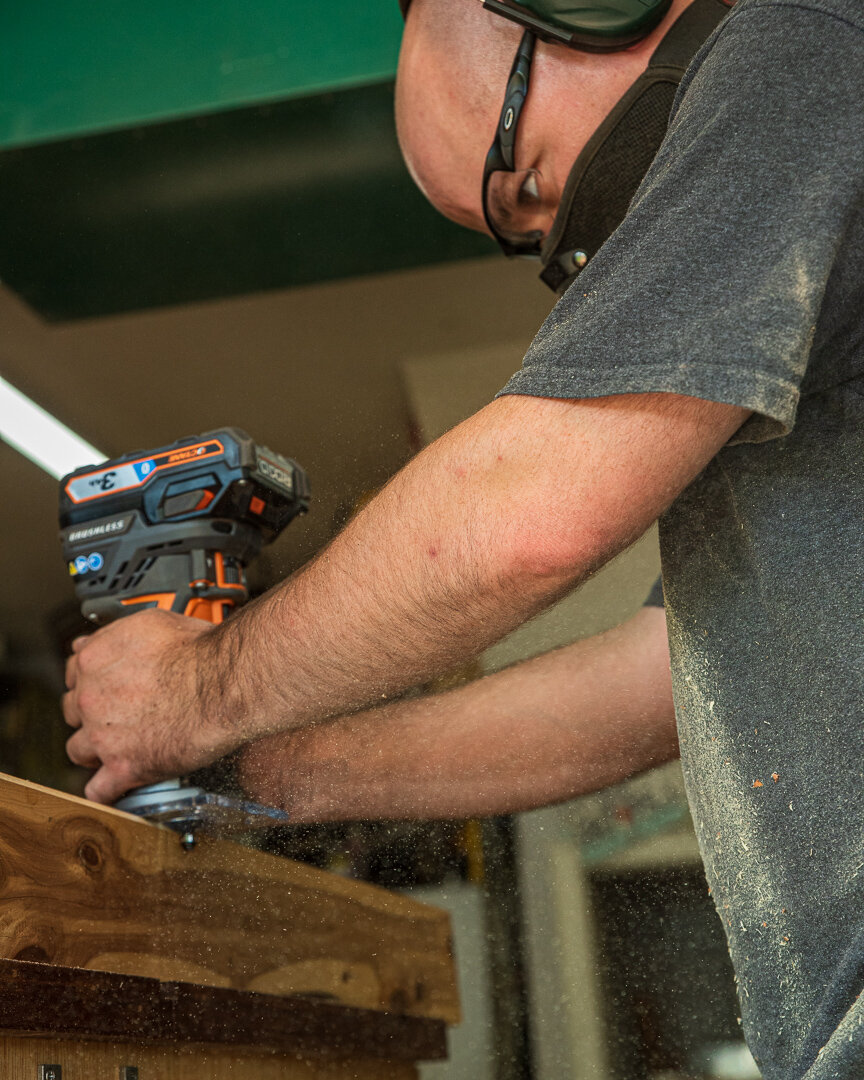
Power Tool 5: Sander and Vacuum
Obviously, the vacuum is optional. But much like the drill and driver, you’re not going to want to skip it. Because if you want to turn out work of any quality, sanding is not optional, and there’s not a way to sand without making a cloud of fine carcinogenic dust. And even if you use a good respirator to keep it out of your lungs, that doesn’t stop it from floating and coating EVERYTHING where you work with a thin coat of dust. That’s why I paired up my sander with the Milwaukee wet/dry vac, it significantly cuts down on what ends up in the air and anything it misses I can go back and clean up later with it!
That said, a quick word on sander. I do a lot of large projects, so I opted for the Ridgid 6” sander. A 6” sander has almost 50% more surface area over a 5” sander, so it actually speeds up more than you’d expect. The downside is it’s a lot bigger and heavier and can be unwieldy when sanding small pieces.
BONUS: 3 Non-Woodworking Tools for your Woodworking
There are probably zero surprises about the 5 tools I mentioned above. They’re exactly what you’d expect to see in a Woodshop. And when you think of starting a Woodshop, they’re the kind of tools that come to mind. But, there are some tools I use ALL the time that aren’t generally associated with woodworking.
Bonus Tool 1: Angle Grinder

Milwaukee Angle Grinder
The angle grinder is coming up first because it’s probably the most frequently used “not traditionally woodworking tool” I use. Admittedly, a lot of the time that’s to do things with metal that’s adjacent to my woodworking.
Need to grind off some nails or screws that are too long? Need to cut off a piece of all thread for a project? Cut some C channel to reinforce a table top? Angle grinder.
Not to mention just house hold stuff. Sharpen mower blades? Cut off a rusty bolt? Padlock you lost the key to? Stubborn toenails? Angle grinder.
That said, there are legitimate wood specific tools for the angle grinder. I’ve done a fair bit of spoon carving with angle grinders. And if you want to get into power carving, most of the blades and attachments are made to fit onto angle grinders. Just get one, you’ll be amazing how often you use it once it’s available. And for the MOST versatility, get a variable speed one. I’ve been using the Milwaukee variable speed grinder and really like it.
Bonus Tool 2: Torch
Like the angle grinder, a torch is something I use a lot more than I expected - and even more once I had one in the shop. For woodworking it opened up the opportunity to do burned finishes like shou sogi ban, which is amazing when combined with dye like I did on the industrial kitchen island.
But any time you need heat, it’s handy. Almost every time I do an epoxy pour I pull out the torch to pop air bubbles, and the compact Bernzomatic hose kit is great for that. I use also use a branding iron for a lot of my work, know what brands need to be? Hot!
Tip, propane bottles are cheaper. But if you’re heating brands or annealing metal - anything where you need lots of heat, it’s worth the extra to get MAP gas!
Bonus Tool 3: Soldering Iron
I’ve dabbled a bit with electronics, but they’re not my strong suit. It’s mostly been limited to car stereos and motorcycle upgrades. But I do enjoy adding LEDs to some of my projects. MOST of the time, that’s a peel and stick, plug and play kind of feature. But more than once the LED connectors haven’t worked how they’re supposed and a soldering iron has saved my butt and project!

Ryobi Soldering Iron
I’ve also taken to using my Ryobi soldering iron for more than soldering. With it’s variable power control, it’s awesome for wood burning! I recently batched some cutting boards and a friend wanted one personalized with a date. With the Ryobi soldering iron it just took a few minutes to draw it out and then burn it!