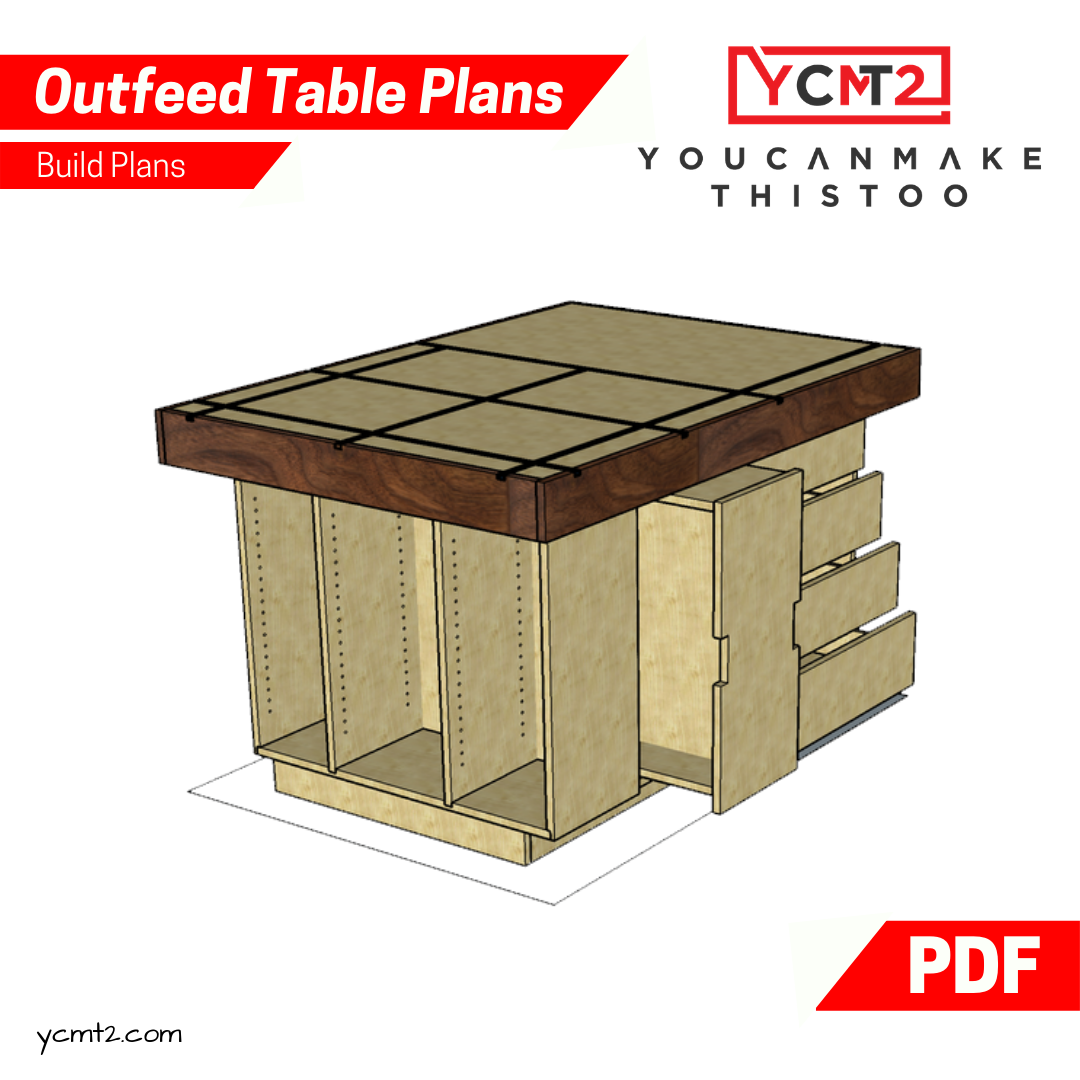
Build an Outfeed Assembly Table

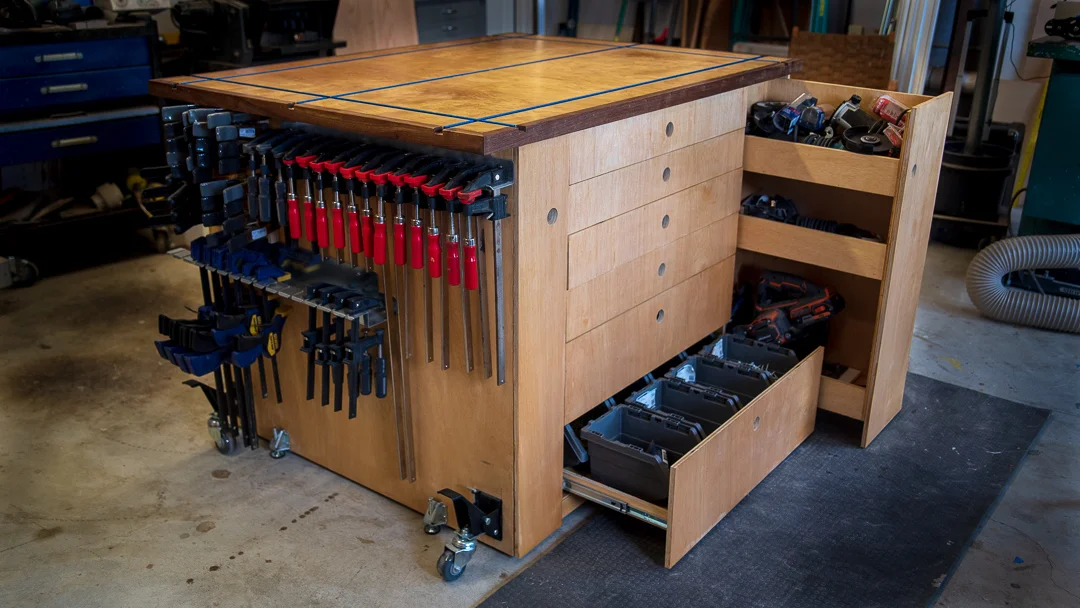
I built this outfeed assembly table to fit my buddy Andrew’s shop. The outfeed table has tons of tool storage and with the integrated t-track makes for a great assembly table as well!
Plans are available here, they’ll be at a 25% discount until June 1, 2019.
This post contains affiliate links, for more information see my disclosures page.
Check out the tools I use.
TotalBoat Halcyon Finish - 10% off with Discount code "YouCanMT2"
Rockler Products:
Material Mate: https://amzn.to/2VDa02U
T-Track: https://amzn.to/2MP4AyN
T-Track Clamp: https://amzn.to/2MNV6nz
T-Track Stop Kit: https://amzn.to/2K0IBHj
T-Track Long Stop: https://amzn.to/2KdQF3B
Bench Cookie Kit: https://amzn.to/2ls46SI
Leveling Feet: https://amzn.to/2KebvDi
3/4” plywood is a lot for me manhandle on the table saw by myself, but I didn’t feel like breaking out my track saw and dealing with getting it clamped perfectly, so I used my material mate and outfeed supports to move the sheets to the truck onto the saw, and it worked really well.
Andrew designed this and gave me a cut sheet and cut diagrams, so as I broke down the material I labeled everything to keep track of what piece it was, and what cuts were left to make on it. Kind of like a job card. I ended up with quite a few fairly similar sized pieces, so that was really helpful.
Once the pieces were broke down, the next cuts were to establish the toe kick that runs down the long sides of the outfeed table.
Instead of all pocket holes as I usually do, this build uses rabbets and dados. One of the advantages of that is the joinery aligns itself. With pocket holes, you have to take care to hold or clamp everything into perfect position and then not let the screw pull it out of place. With rabbets, the only place for the pieces to go.. is in place.
The trick is to take plenty of time getting everything set up. I make lots of test cuts until I know that my dado stack is the right thickness, it’s the right height above the table, and the proper distance from the fence for each cut.
Now to start assembling. The base has three sections. The horizontal drawers, the vertical drawer, and the shelves. Then the top of course sits on top of that. I started putting the base together by building the shelf assembly that’ll be the end of the assembly table. All of the dado/rabbet joinery will be glued together, and I’m using brad nails to hold them together until the glue dries.
After I got the shelf assembly together, I remembered it needed holes for the shelf pins. Fortunately, my driver and bit fit in the space just fine after assembly. But, it might’ve been smarter to drill these before putting it all together.
Now I’m working on the section for the horizontal drawers. I start with an end piece and add a bottom into the dado, and then a back piece into the rabbet.
After I get those glued and tacked in place, I add more glue to the bottom and back so I can insert those into the divider between the horizontal and vertical drawer sections.
At this point I realize I won’t be able to brad nail the bottom and back piece for the vertical drawer section, so I add some pocket holes to those. Then I put glue on the divider, tap the bottom into place and screw it down, then add the back piece, brad nail it to the bottom piece, and screw it in as well.
Now I add the divider between the vertical drawer that’ll become the back of the shelf assembly. Some glue and brad nails hold it on, then I add more glue before squeezing the shelf assembly into place and screwing in the pocket holes. It may seem pointless to have done the rabbets and dados since I ended up using pocket holes in some place anyway, but that doesn’t consider that the dados still helped a lot with alignment.
I add some braces at the cabinet opening to secure the top and keep everything square. To make sure these actually make the piece square, I measure and cut them based on the span at the back of the cabinet, then pocket screw them into place.
Now for the kick board toe plate thing. I basically screw together a giant horseshoe, and then glue, brad nail, and pocket it screw it to the bottom of the assembly. This provides some rigidity to the structure, but mostly makes sure that dust collects at the base instead of under the table.
Then I moved on to assembling the drawer boxes. These were super simple. Just all 1/2” plywood, and I glued and brad nailed them together.
I also went ahead and built the vertical drawer. This was a bit different, but it’s pretty simple. Its kind of like an I-beam, but with a back and some padding on the bottom for drawer slides to get mounted too.
When I install the drawers at the end, I’ll add the fronts to all of them.
And on to the top. Andrew wanted a torsion box for his top, which is a way to make a top that is very strong and stays flat. It’s basically just a frame between two skins. The top of the top will be maple plywood to match the base, but for the frame and bottom I used MDF for its stability. First I marked out where the frame would go on the bottom piece, and then set to gluing and nailing all of the little pieces of the frame together. I thought staples would be the best way to go, but they kept blowing out the side of the 1/2” MDF, so I switched to brad nails.
If you’ve been around, you know I normally use a battery operated brad nailer. I still love it, but I knew I’d be driving several hundred nails pretty quick, so I pulled out my old pneumatic because it’s faster and a bit lighter.
The top of the top will have some t-track in it. So before I add it to the torsion frame I set up my dado stack and cut some dados for the t-track. As always, the trick here is lots of test cuts to get that perfect fit.
I noticed some chip out while I was cutting the dados. I started adding blue tape where they would be cut, which helped reduce the tear out, but didn’t eliminate it. Some wood putty later will clean up any tear out though.
After I handled the tear out, I used a chisel to clean up where some the dados T-ed into other dados. I stopped those cuts a bit short to make sure I didn’t over shoot the groove, but that left a little bit of waste to be cleaned out.
To attach the top to the rest of the torsion frame, I used a ton of wood glue. I want to make sure these has really good adhesion, and any squeeze out will just get caught inside the frame, so I was pretty liberal.
It took a while to make sure it was squared up properly, and then I added some brad nails to make sure it didn’t slip around and was held down tight.
The sides of the top are pretty ugly though. Well, there’s where trim comes in. And fortunately Andrew is jumping on the #unnecessarywalnut wagon, so that’s what I used to trim it. After I milled it down, I have a video on my milling process, I set about mitering them around outside. I like to measure each piece in place, then sneak up on the best fit. Once I get there, it’s time for glue and brad nails. Because this is an MDF and plywood torsion box, there won’t be any expansion or contraction, so a mitered trim like this is not going to be a problem like it would on a table top.
The fit up between the trim and the top was pretty typical for me. So as I used wood putty on the nail holes, I went up and tried to fill the gaps too. That’s kind of obvious as you see me cutting the trim boards to match the dados. Sometimes I get asked, why not install the trim and then cut dados? Well, on this piece I couldn’t safely move it with all together. Yeah, but I couldn’t assembled it and then used a router. I could’ve, but routers are super messy and my table saw has pretty good dust collection, so this is the direction I went.
By the time I finished opening the dados the putty was dry and I was able to sand it all down.
Then came the fun part, installing the t-track. I installed this on my last bench and really like having it. So when Andrew asked about his, I recommended using it and the Rockler clamps. He’s been using it for a bit and he loves it too.
I didn’t want any finish getting into the dados and ruining the fit for the t-track, so I installed them before finishing, which meant I needed to mask them off, no big deal.
For the finish I’m using Total Boat’s Amber Halcyon finish. One of the things I really like is that’s water-based which means low VOC, quick dry time, and easy clean up. Which is super handy because I’m going to be spraying it on with my new Earlex 5500 spray station. So being able to clean up the gun with just water makes the clean up almost as easy as applying the finish.
When I sprayed, I started with the back of the vertical cabinet to get the gun dialed in, which was super easy. And then I just sprayed the whole project. The only downside was I got stuck trying to spray on a really windy day, just me.. don’t try to spray on a windy day. Fortunately, I found out the Earlex 5500 has so little over spray so I could’ve just moved inside. Which is actually what I did with the top when I realized it that would be just fine.
With the Earlex and Halcyon, I was able to get 3 coats on everything in an afternoon. Which is a total game changer for my finishing process.
It’s really coming together now, time to install the drawers. I started with the vertical because it seemed like it’d be the hardest. It was a tight squeeze, but not too bad. I’m using Accuride push to open slides, so you won’t be seeing any handles or pulls on these!
Then I moved on to the horizontal drawers. I like to use spacers to keep my drawer slides in the right place, so I started with the top drawers and as I installed in drawer slide, I just cut down my spacer.
My process is pretty straight forward. I screw the slides to the cabinet using a spacer. Then use a spacer to hold the drawer in place and screw the front of the slide to the drawer, release the drawer from the slide and finish screwing the slide to the drawer. Then lather, rinse, repeat until complete.
Once the drawers were all in, it was time to add the drawer fronts. I used CA glue and activator to hold the front in place, and use pocket screws to permanently attach the front to the vertical drawer.
I do the same thing for the horizontal drawers, but I’ll just be using regular wood screws from the inside to permanently attach the fronts.
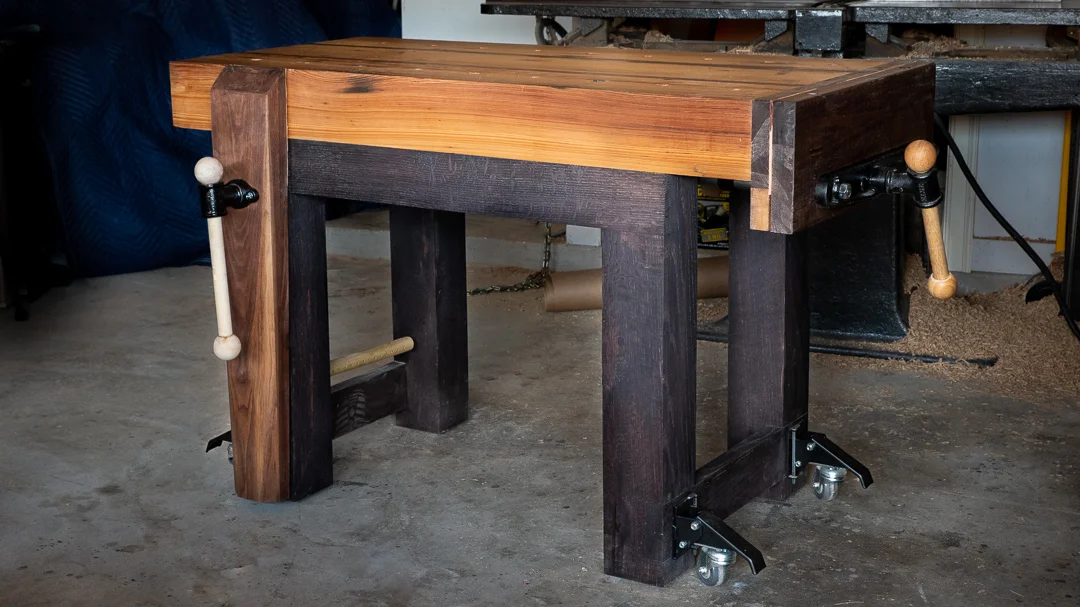
The last thing I did at my shop was add the leveling feet to the bottom of the cabinet. They just screw on and are invaluable if your floor isn’t level.. and I’ve never seen a level floor.
Off camera we moved the whole thing to Andrews shop and set the top in place. Then I set about securing the top to the base. I just ran some screws through the top of the shelf assembly, the cleats I put in the front of the drawer area, and through some pocket holes I drilled.
And with that she’s done. Well, she still needs some shelves to be cut for the shelf cubbies, but other wise, she’s ready to use.
I hope you enjoyed this, and don’t forget I’ll have plans available. I’ve done several other work benches before so if you’re looking for ideas be sure to check them out.