How To Make a Craft Table with a Seascape
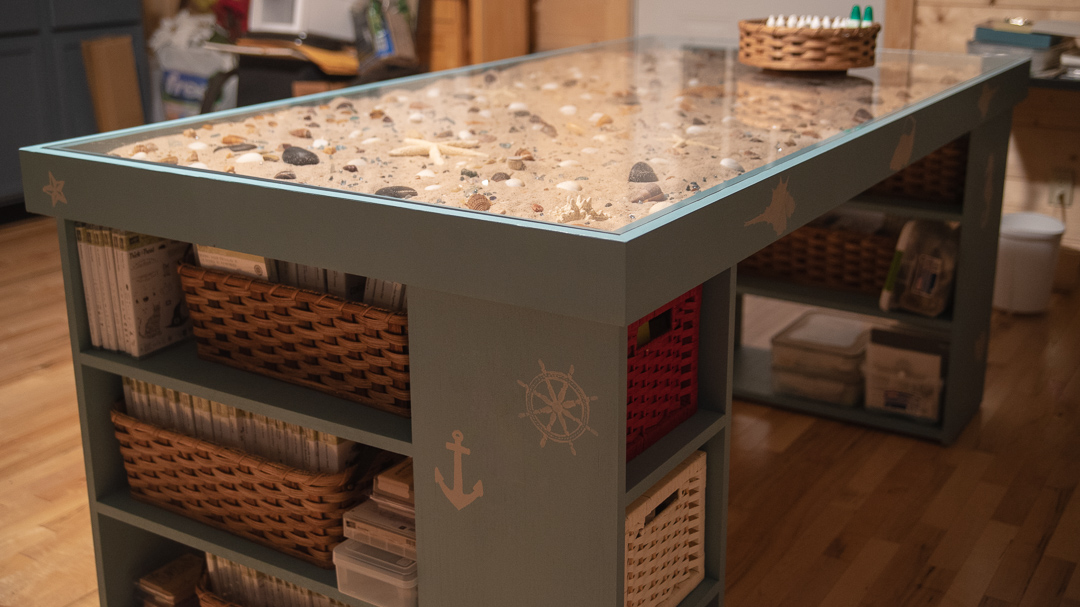
Looking for a craft table that inspires you? This shows how to build a craft table that can be decorated with whatever gets your creative juices flowing. We went with a seascape, but you could do whatever inspires you.
This post contains affiliate links, for more information see my disclosures page.
Check out the tools I use.
Tools used:
Materials:
This is a plywood and pocket hole project, so it started with breaking the sheets of plywood down. I like to start with a track saw to get my plywood into manageable sizes, and then I use my table saw and miter saw station to cut everything to dimension.

The frame around the table top is going to my mitered, so I reference the frame pieces against the table top to get my marks, and then sneak up on them with the saw. I’ve found this gets me super tight miters.
This is going to be painted, so I go ahead and edge band all the edges of the plywood that’ll be exposed to get the best appearance. I like to use iron-on edge banding, and then just trim it down with a chisel. After that, I give it a quick hit with some 220 grit sandpaper.
That’s the plywood part of the build, now to the pocket hole part. Lots and lots of pocket holes, fortunately I had an eager little assistant to help me out.
Then we did a little pre-assembly before painting. The sides of the cubby were screwed together, and then I assembled the table top - which is basically a big shadow box.
I cut a piece of scrap the same thickness as the plexiglass that’ll be the top and used that as a guide for spacing. The rails along the table top are two pieces. An outside mitered piece, and an inside piece that will rest on the table top and support the plexiglass. Later, I’ll add some supports inside of the field with CA glue to make sure the plexiglass has enough support.
The inside rails will just butt against each other. On the short side, they’re the same width as the table. So on the long side, I cut them short to leave room where they’ll intersect. Then those assemblies get screwed to the table top. After assembly I come back with some wood filler to fill any gaps to get the best appearance after paint. And pro-tip, use a wide shot when you’re filling seams if you don’t want people to see your gaps.
And with that I’m ready to paint. I’m going to pre-paint most of the shelf pieces because once they’re assembled they’ll be kind of cramped for painting purposes.
Once everything is painted I move to assembling the shelves that’ll be bases for the top. These will be assembly with pocket holes on the underside of the shelves, so I assemble it upside down. First adding the cubbies, then the other leg, then the long shelves. I use spacer blocks to keep the shelves in the right position and ensure everything is consistent.
All that’s really left is to just screw the top the base and decorate!